
I rummaged through my scrap fabric and found a nice gray that would do the trick.
Step 1: Cut four 9" x 16" rectangles. Two pieces will be for the outside of the purse. The other two pieces will be for the purse lining. The purse will be about 8" x 15". This will give us a 1" seam allowance.

Step 2: To round out the bottom corners of the purse, I place a circular object (in this case, a spool of ribbon) in the corner and traced it with a fabric marker. Then cut!


Step 3: Sew all four layers together. Sew only 3/4 of the way around. Leaving the top. Then turn the purse right-sides out.

I wanted to add an applique to the purse. So, I found some more scrap fabric. Then ironed on some heat transfer material to the back of it.
I downloaded an image off the internet and cut it out using my Silhouette.

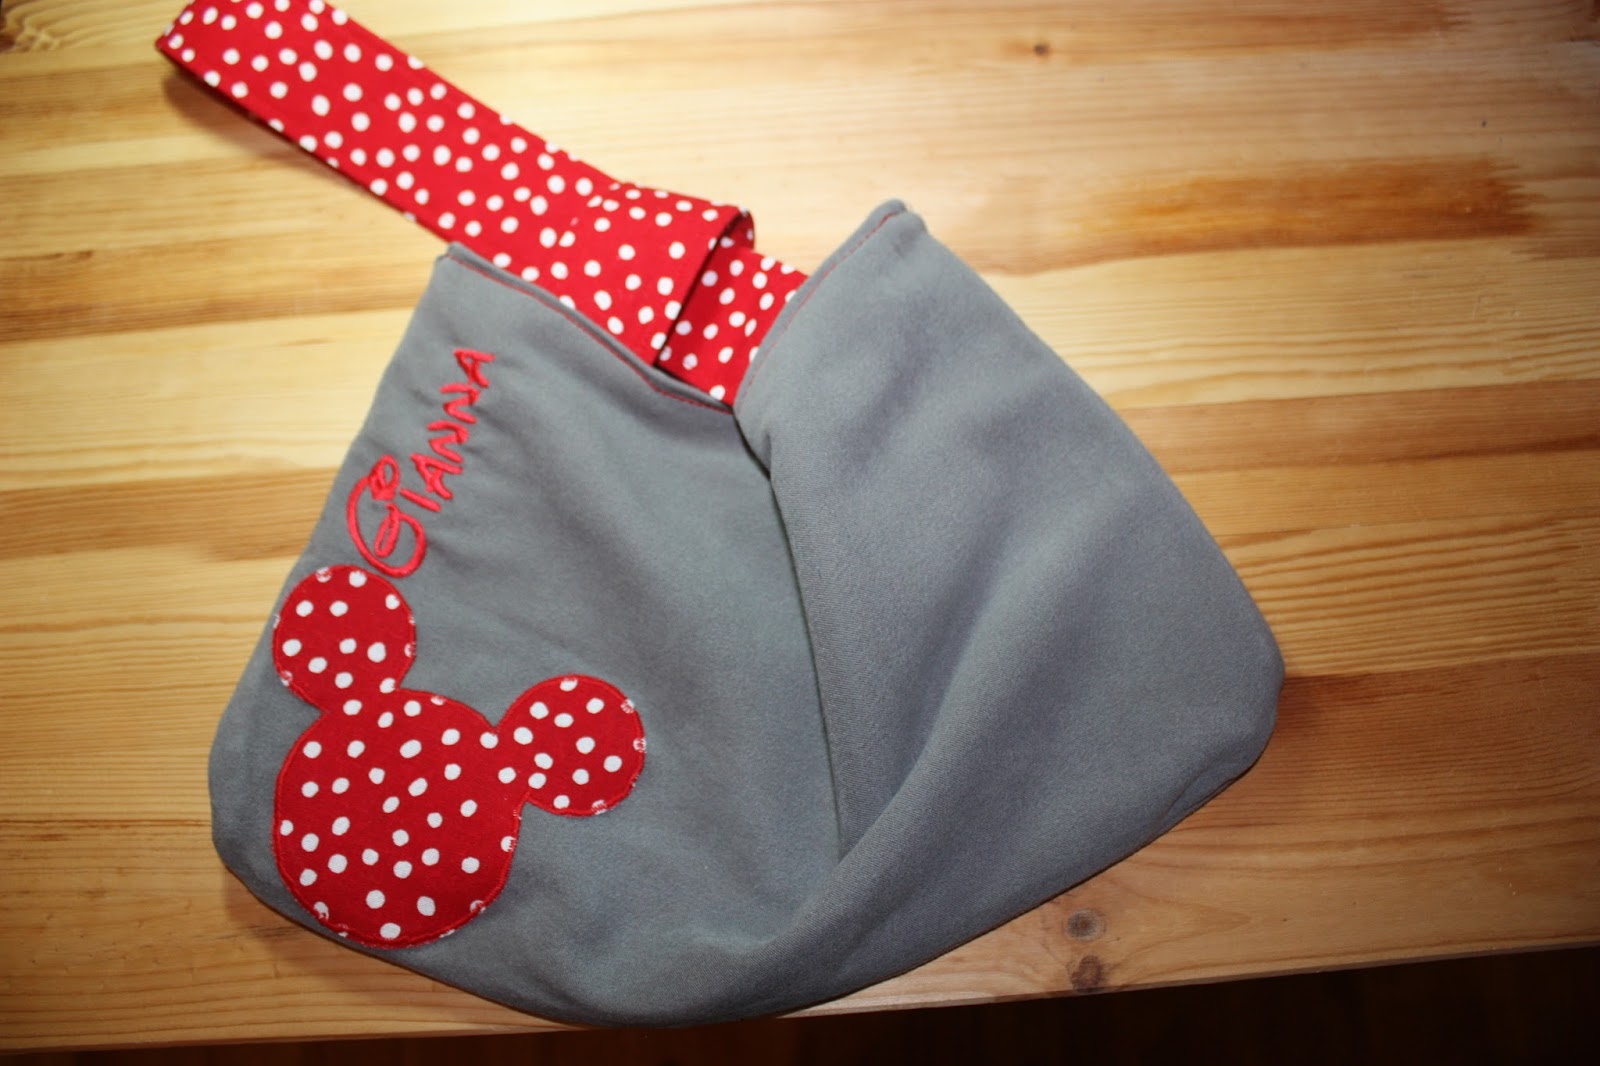
I embroidered the purse with a name and then ironed on the applique. I finished the applique with an embroidery stitch. (In restrospect, it would have been easier to embroider the name BEFORE sewing on the pieces together.)

Using more scrap fabric, I sewing two purse straps. One short one and one long one. To wear the purse, just loop the long strap through the short strap.
This is a simple purse that didn't take long to make. And it gave me some practice on my embroidery and applique skills!


No comments:
Post a Comment