
First, I scoured Pinterest for some ideas. I saw some cute personalized anniversary subway signs which inspired me to make a pillow version of it. Off to JoAnn's we go!
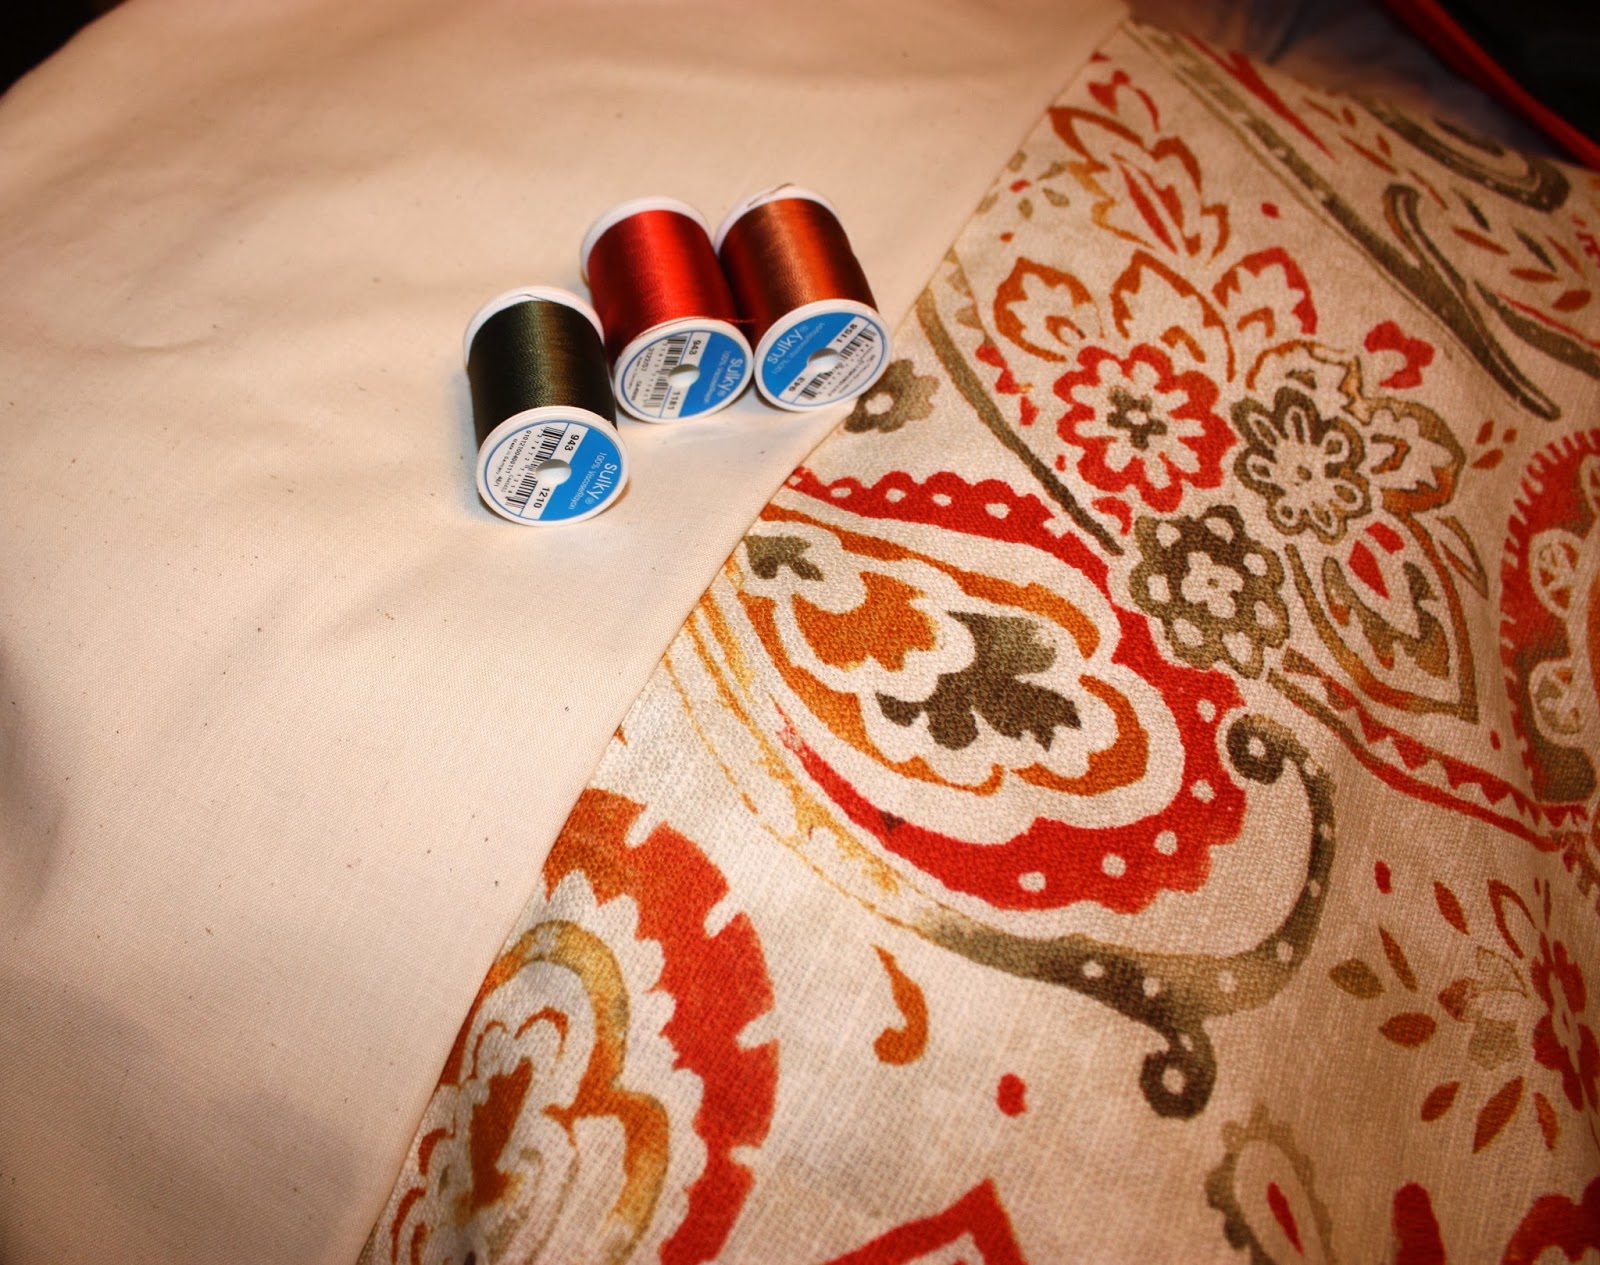
There were so many great fabrics to choose from! I settled on the following fabric selection. A nice Fall upholstery print for the pillow, a cream bottom weight for the embroidery fabric, and three coordinating embroidery thread colors.
Next step was to create the embroidered words. I downloaded a 30-day trial version of BuzzWords. This application easily converts fonts into embroidery fonts.
 | |
| BuzzWords application in action |
After I was happy with the wording, I transferred the embroidery from my laptop to my sewing machine.
 |
| Getting ready to do some embroidering |
Here's a picture of my bottom weight fabric, the 360x200mm hoop, and some tear-away stabilizer.
 |
| The supplies |
 |
| My stabilizer and fabric all hooped and ready to go! |
 |
| The start of the embroidering.. |
 |
| Almost done with the green font! |
Here is how it looked after it was done embroidering. I had to go through and cut all the jump stitches.
 |
| Look at all those jump stitches! |

Now, it's time to make the pillow cover. I folded and pressed the sides in about 1 1/2 inches.

I cut the pillow fabric into a 26"x26" square giving it a 1" seam allowance. Then I lined and pinned the embroidery to the center of the pillow fabric. Once it's all lined and pinned, take it to the sewing machine and sew a straight-stitch down both sides.

Then sew around the perimeter of the pillow fabric to close it up. Make sure to leave 3/4 of one side open so that you can stuff your pillow form inside of it.
 |
| Sew around the pillow fabric. |
 |
| All ready to be stuffed! |
Here is the finished product!

What a thoughtful gift!
ReplyDelete